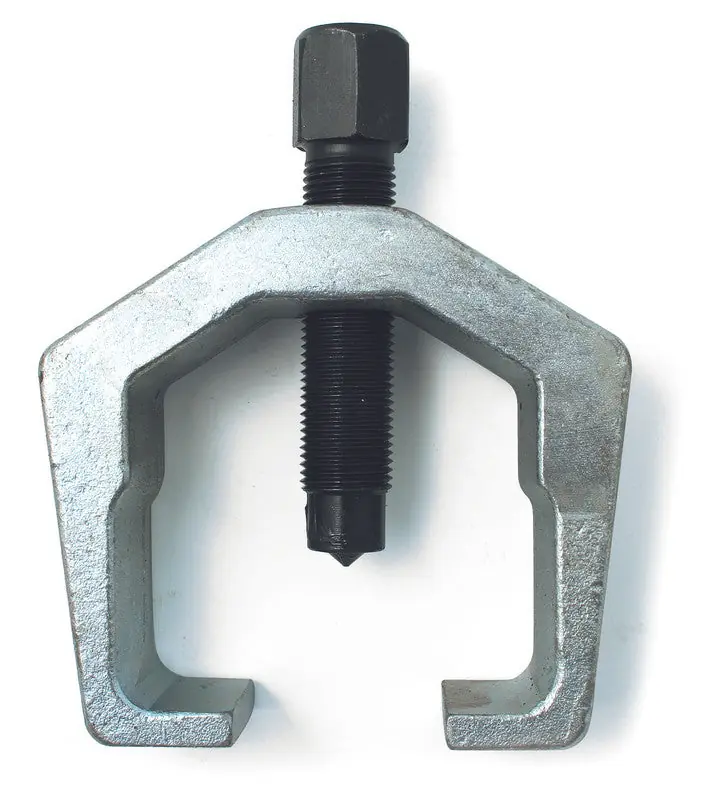
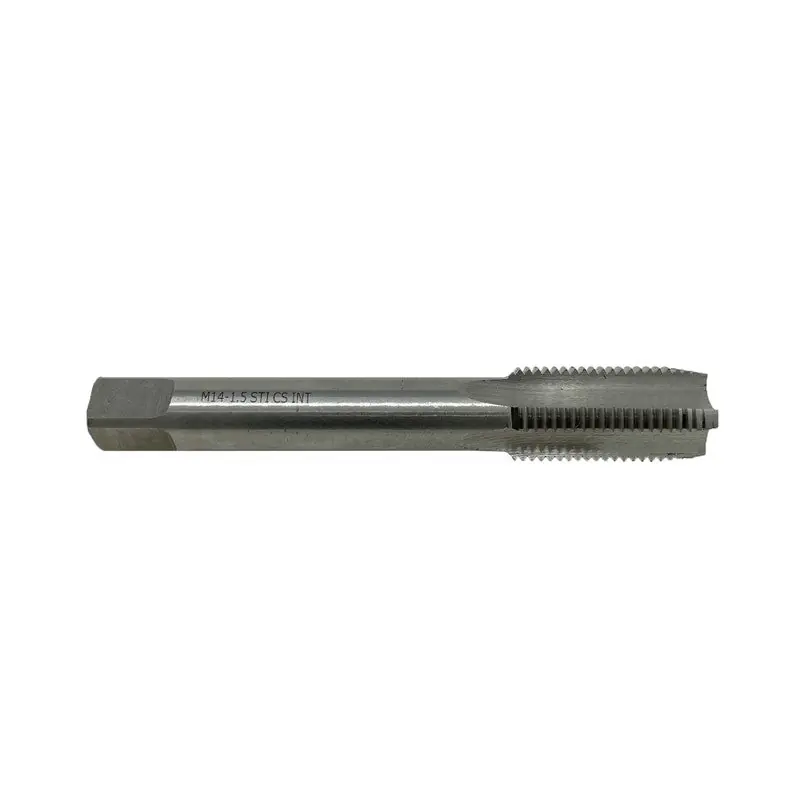
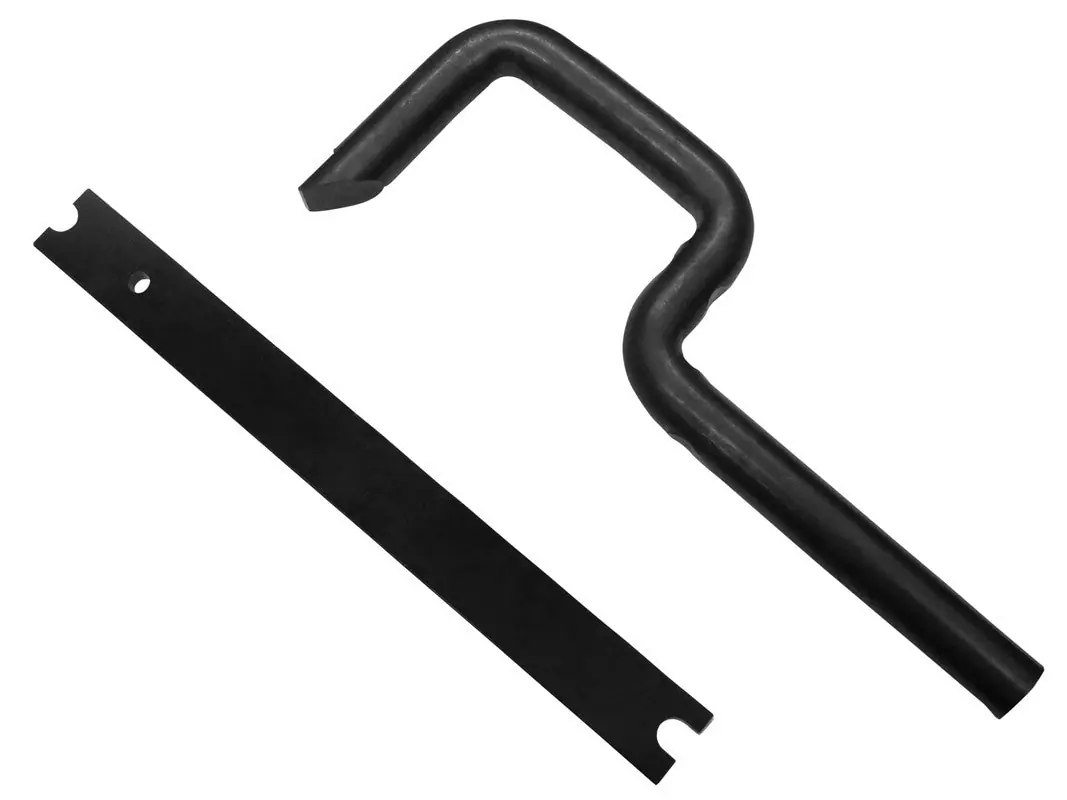
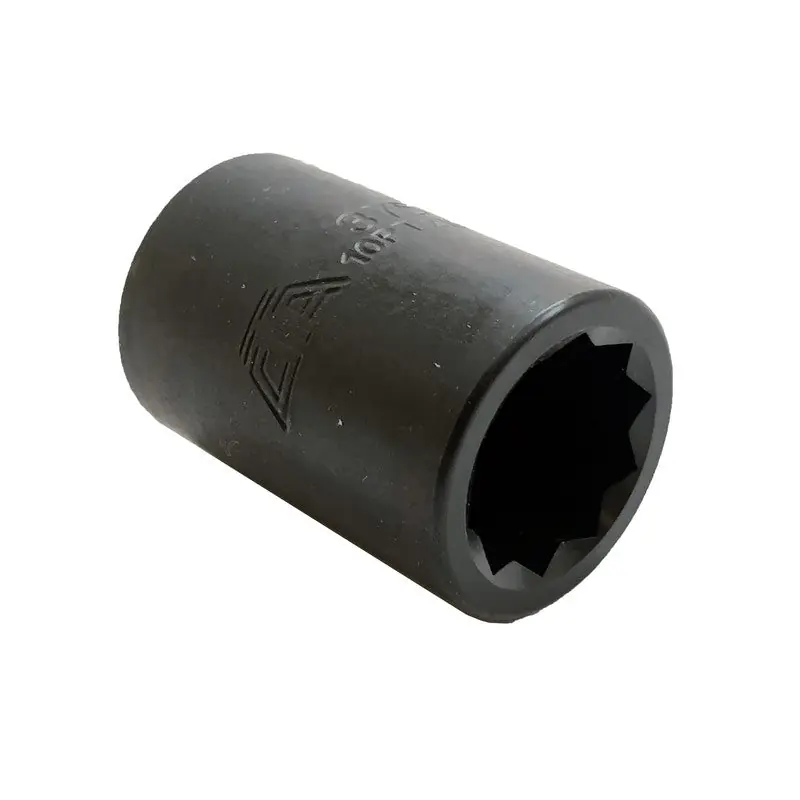
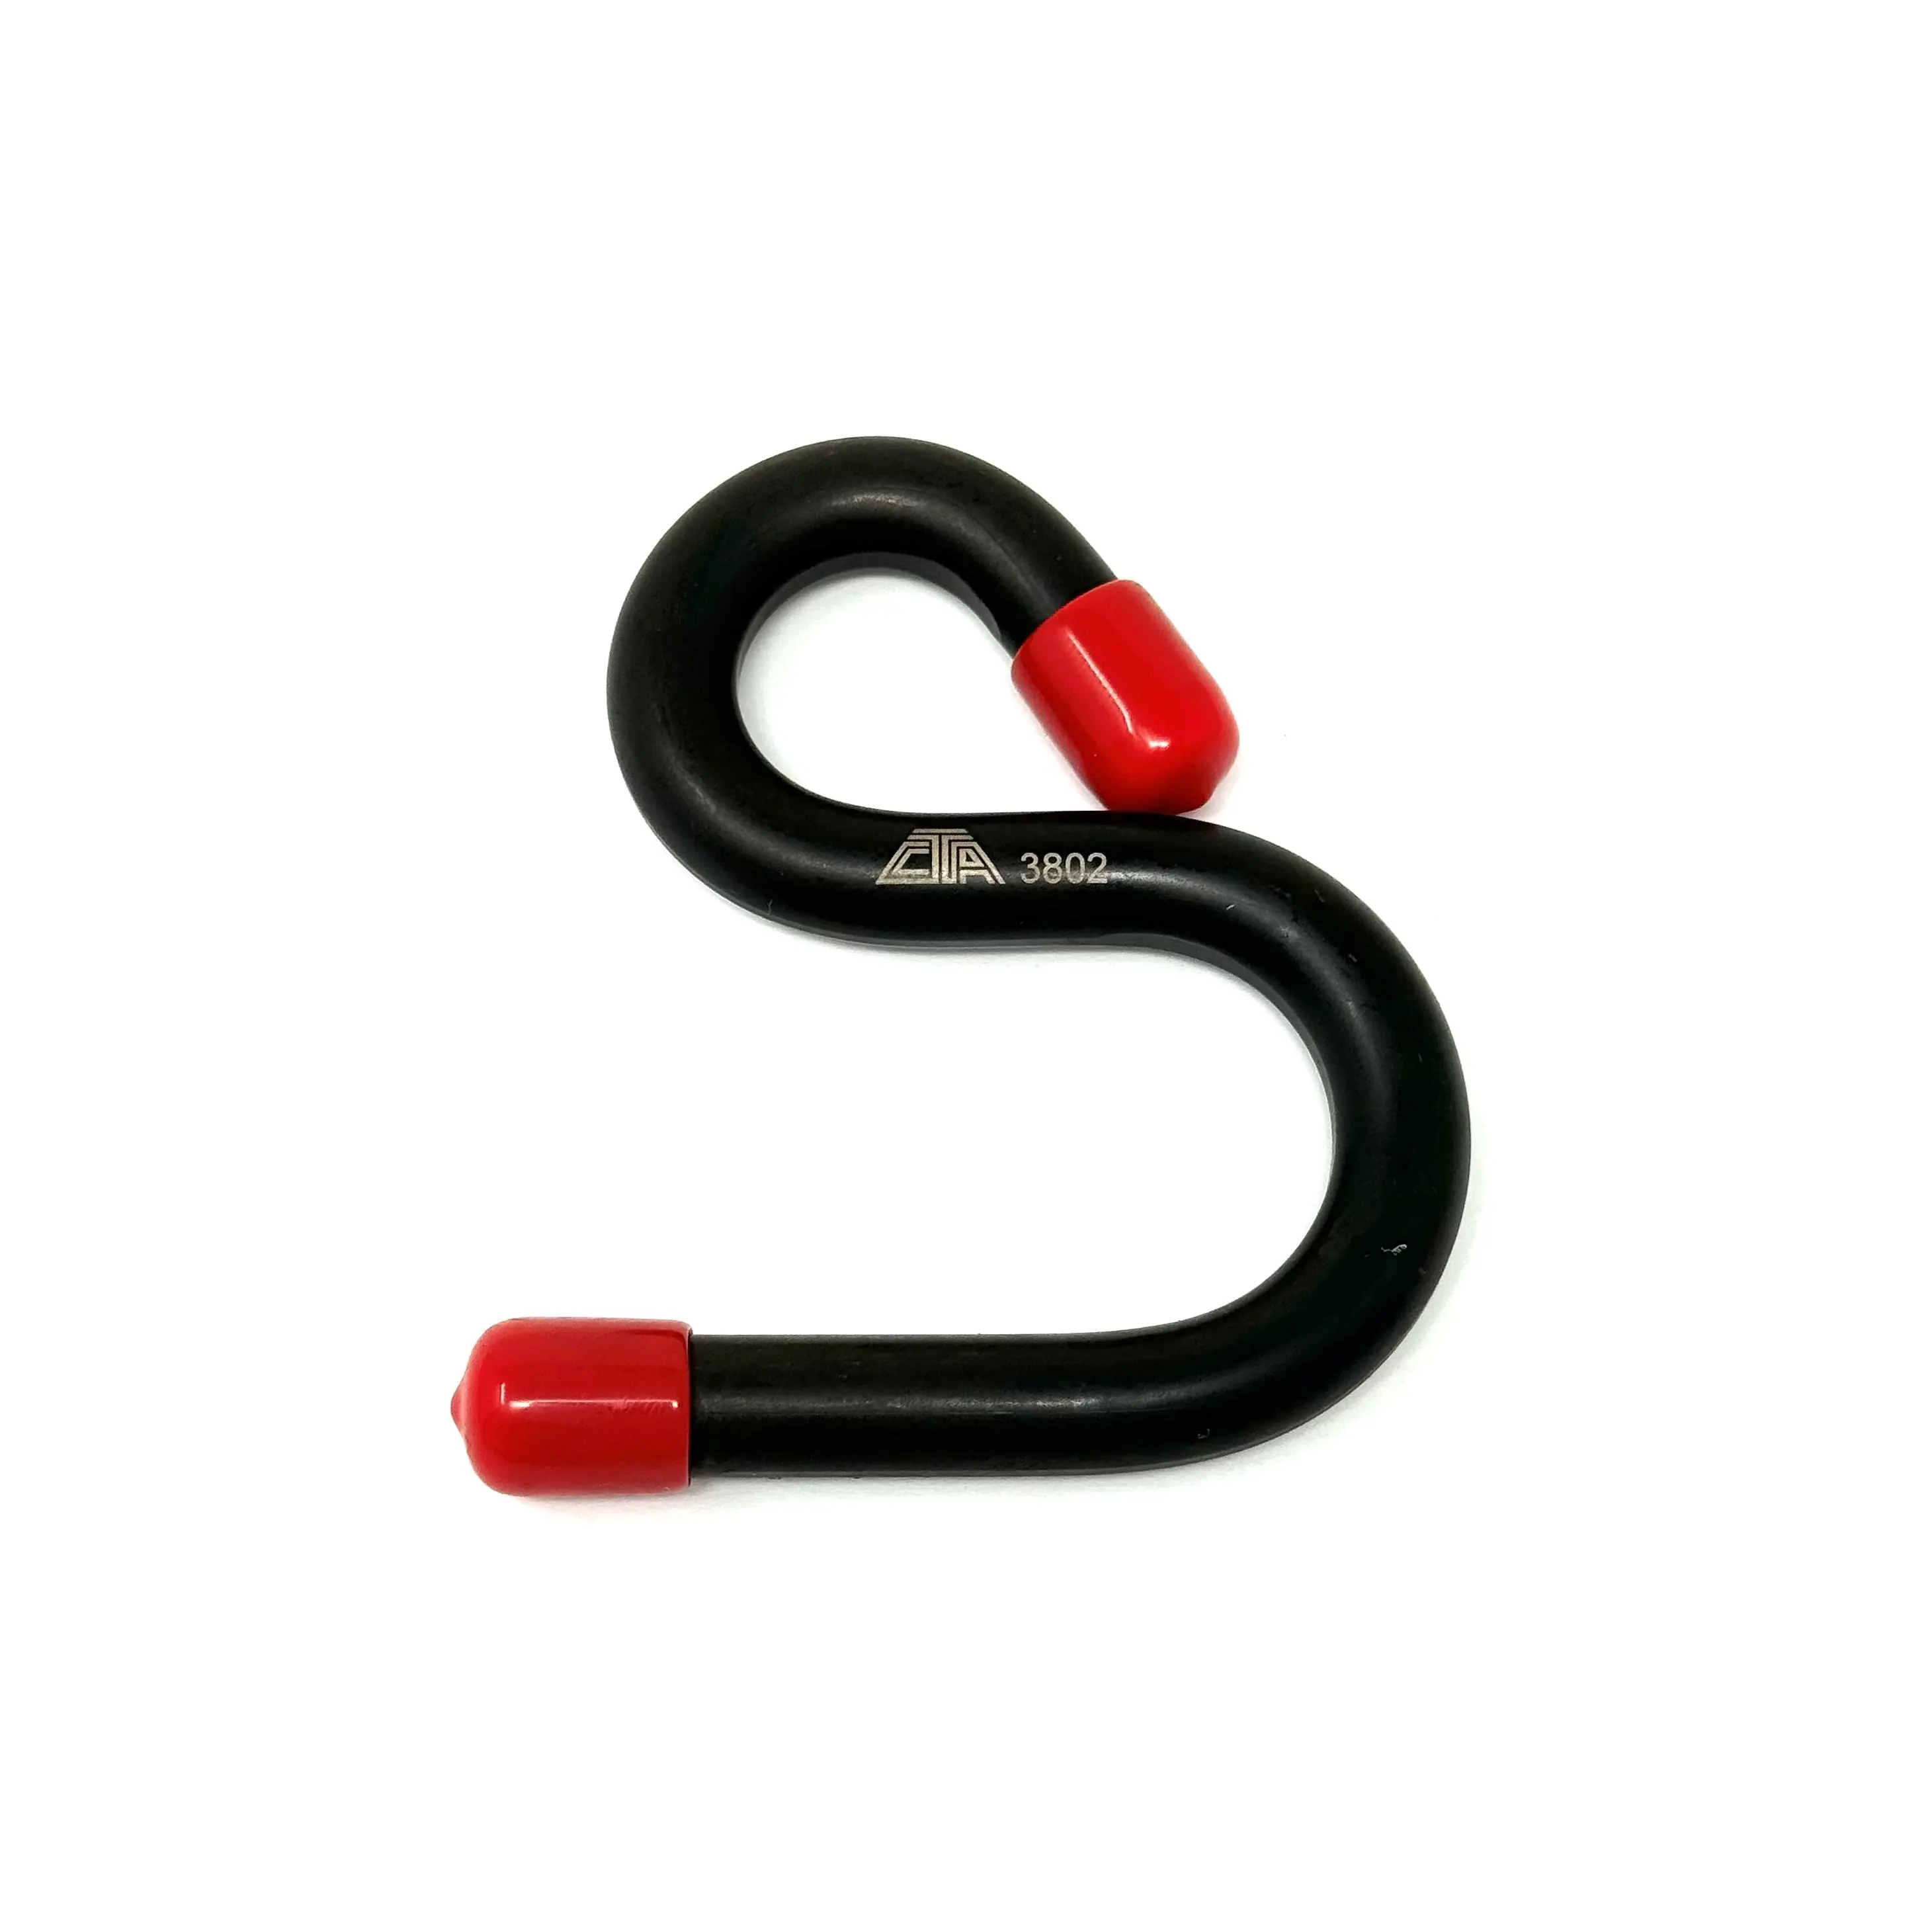
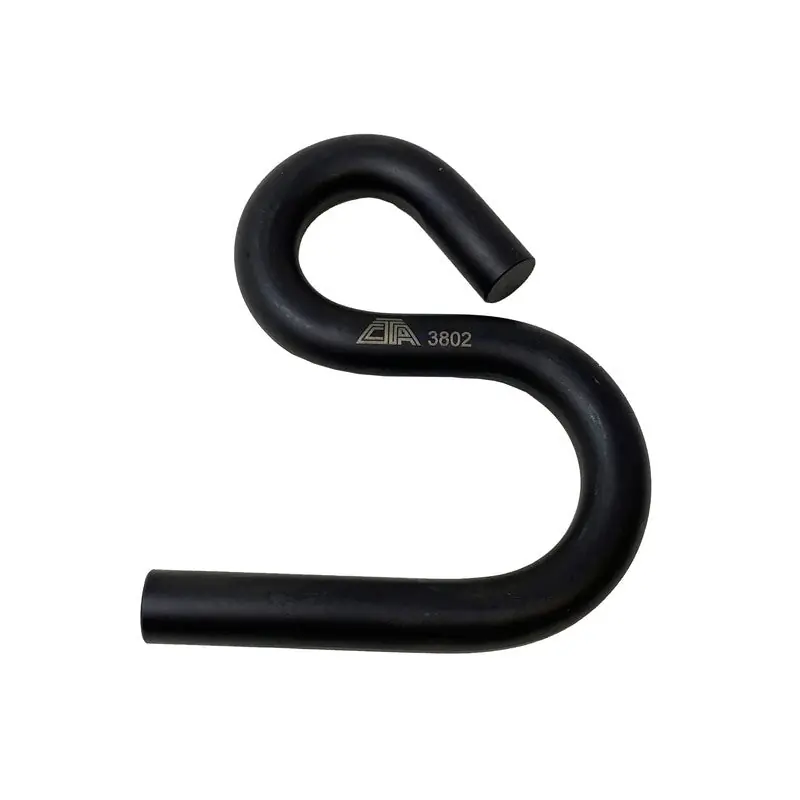
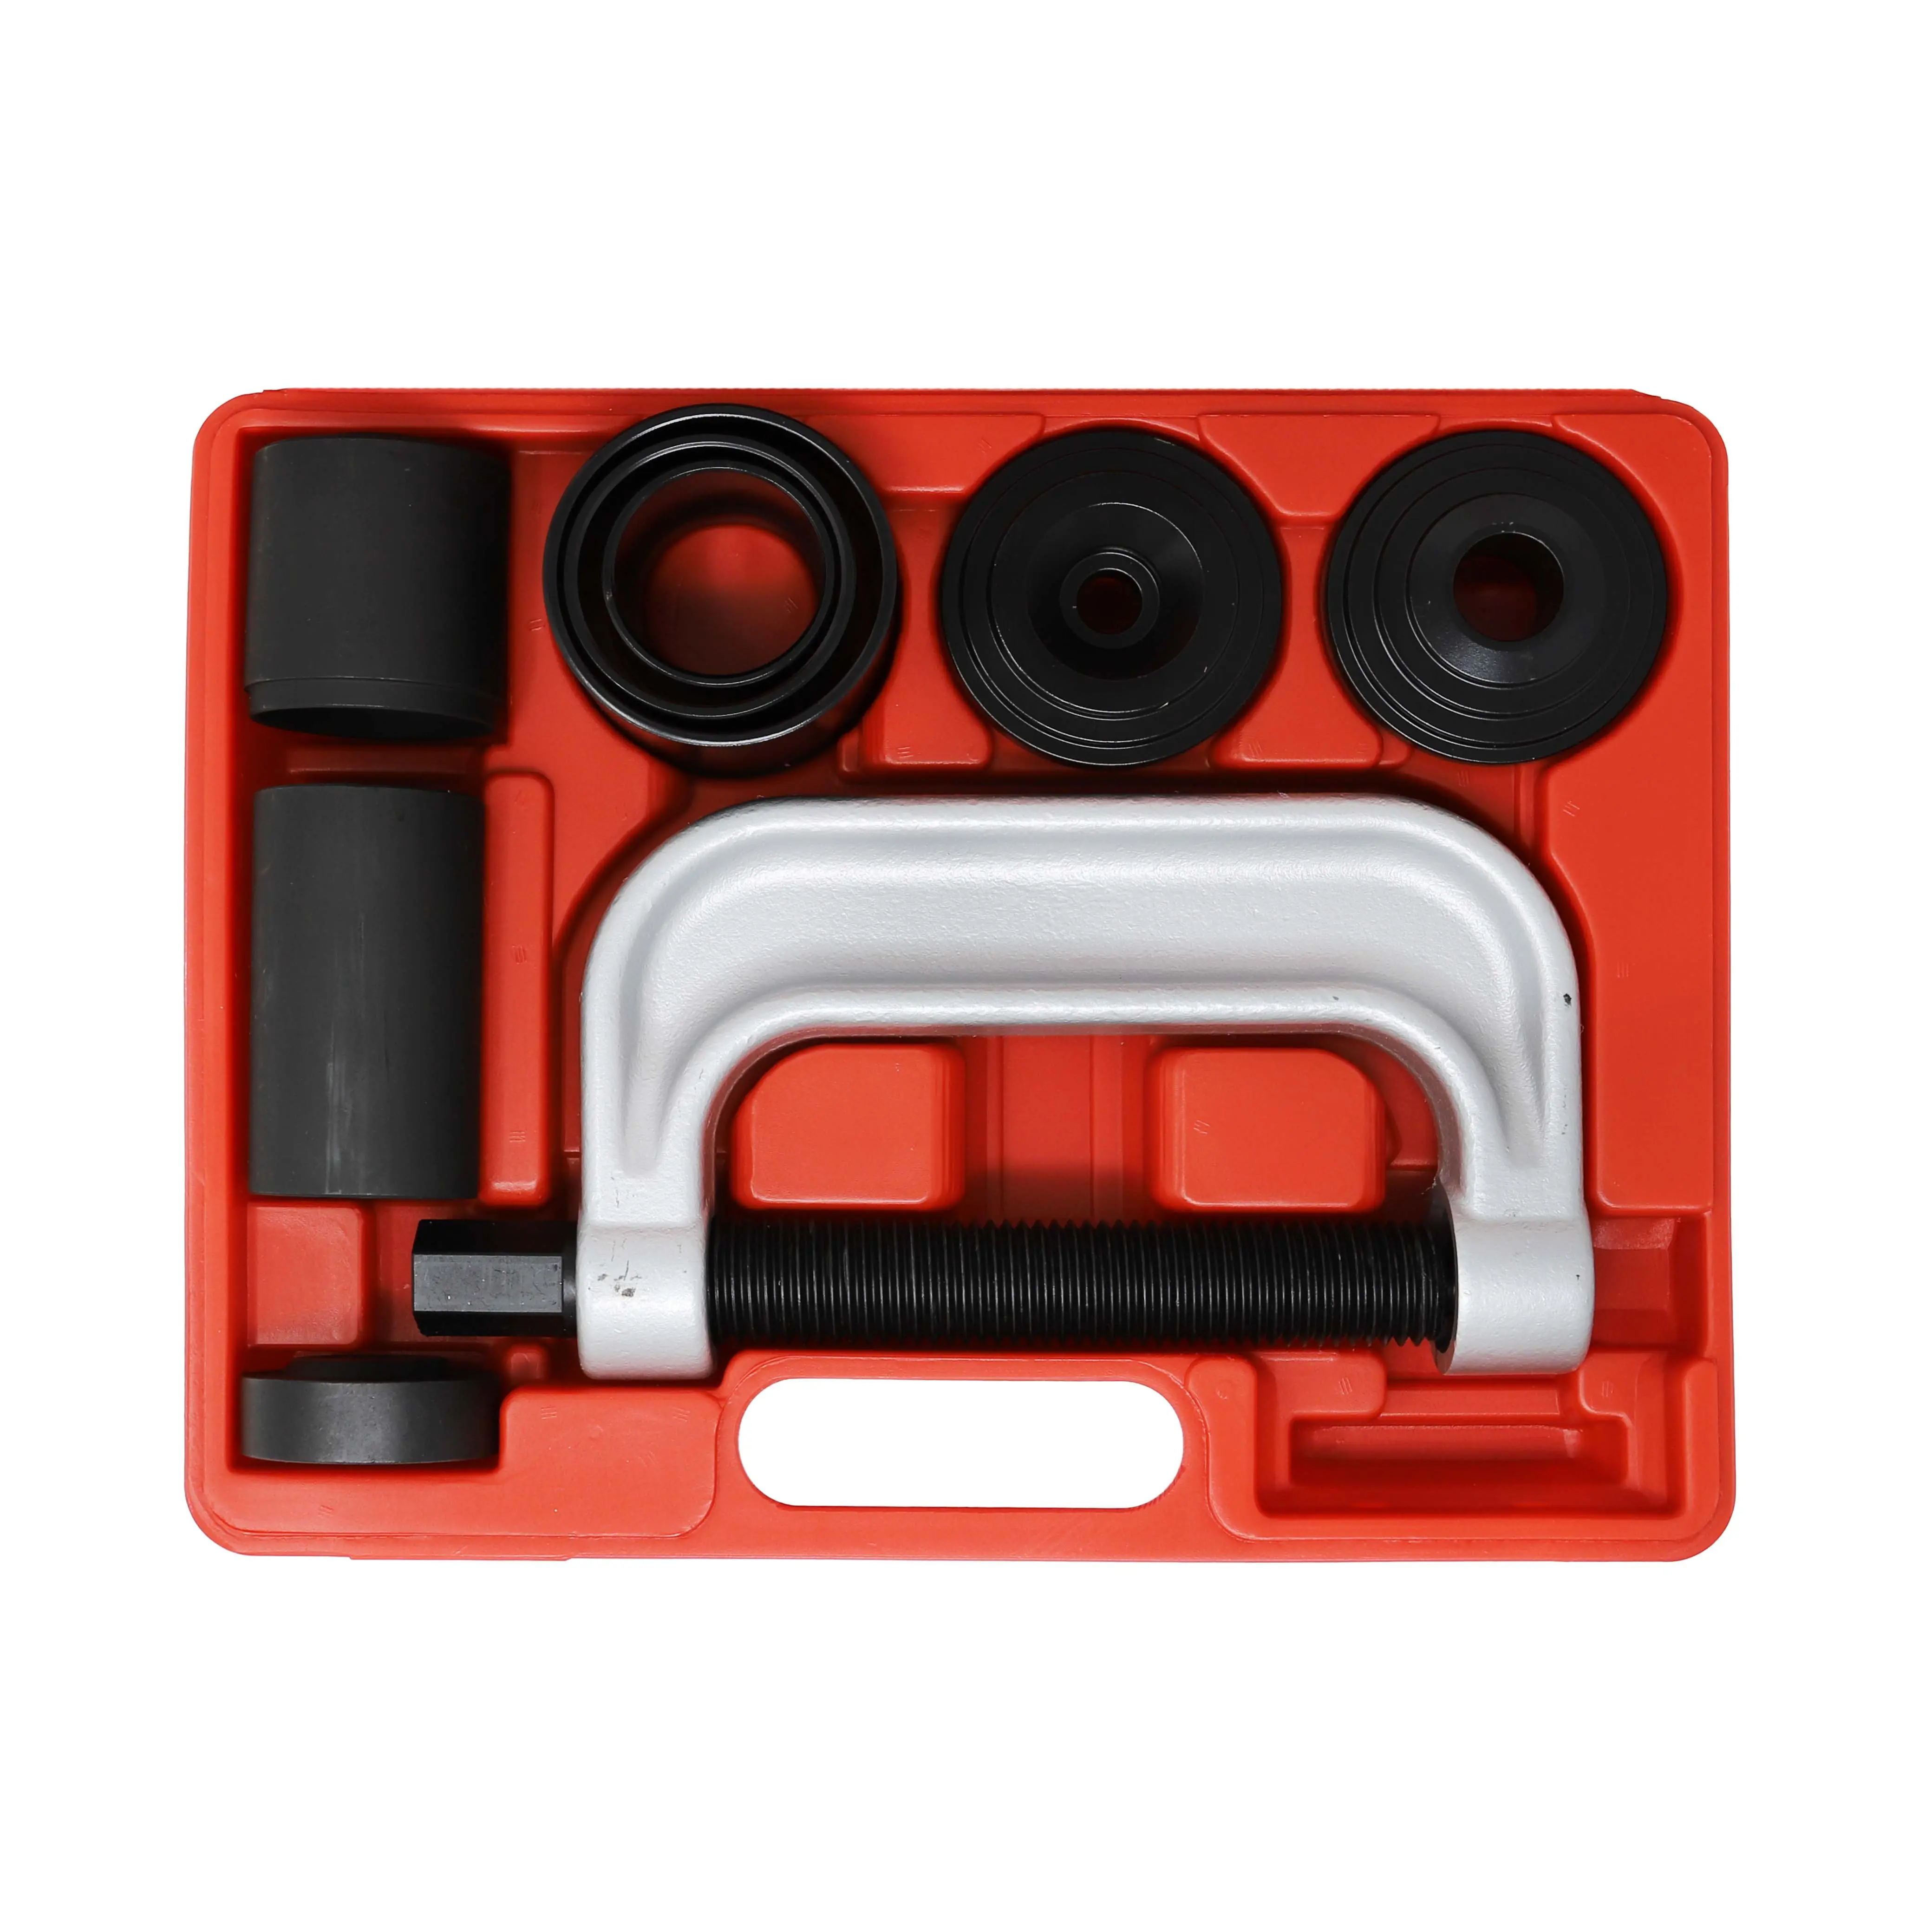
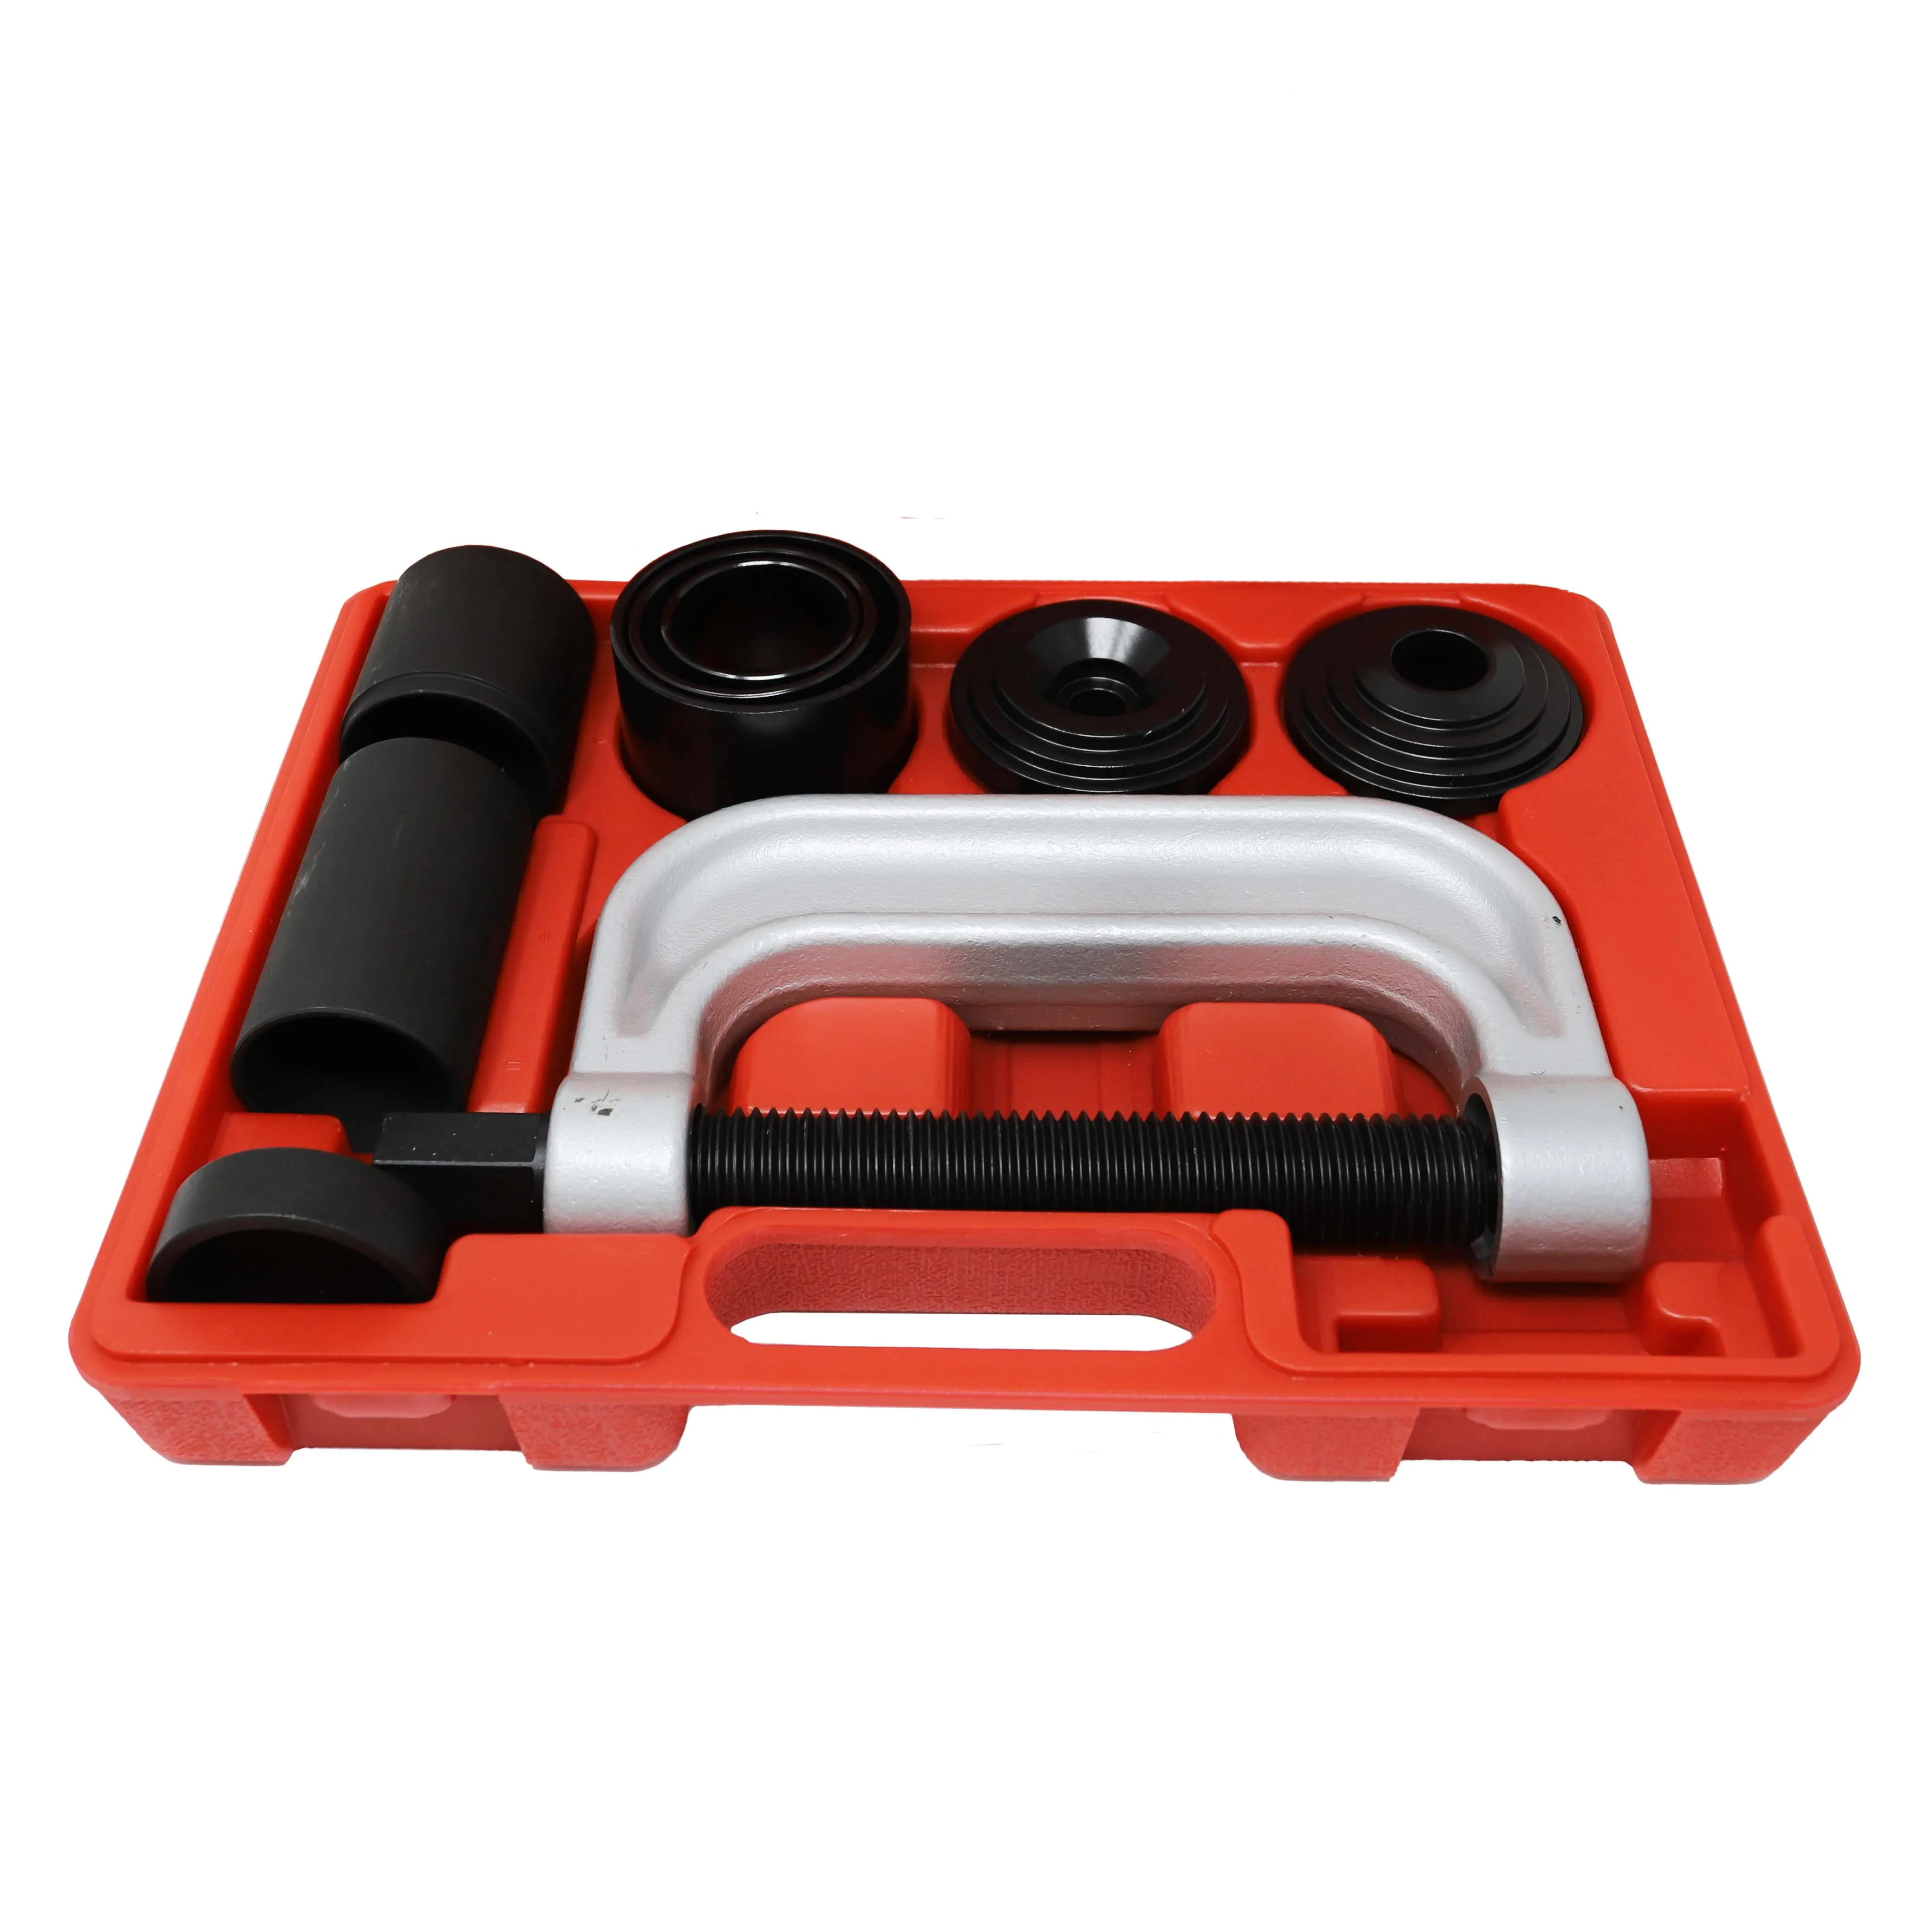
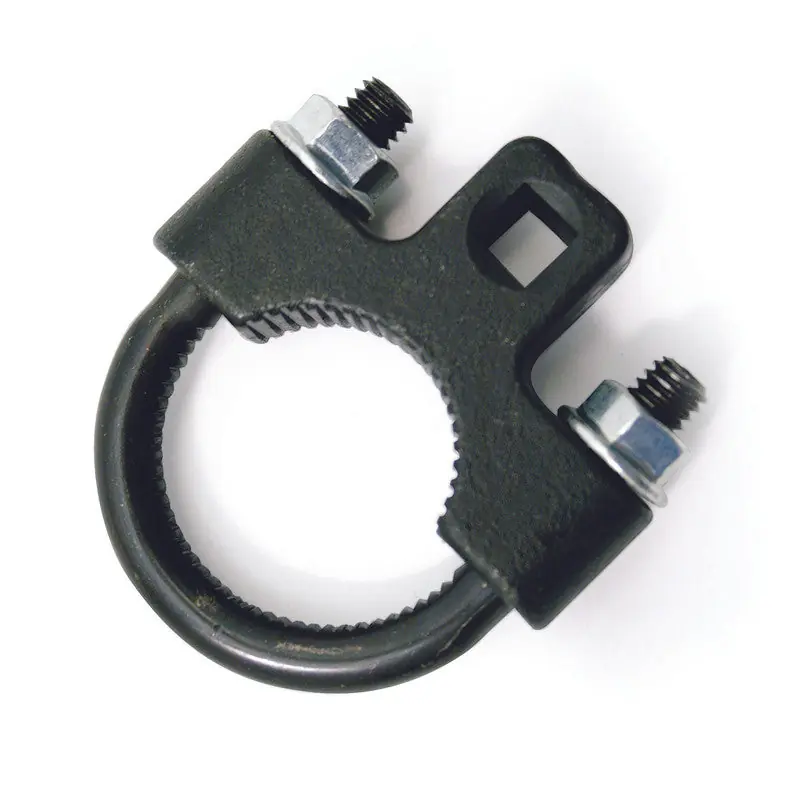
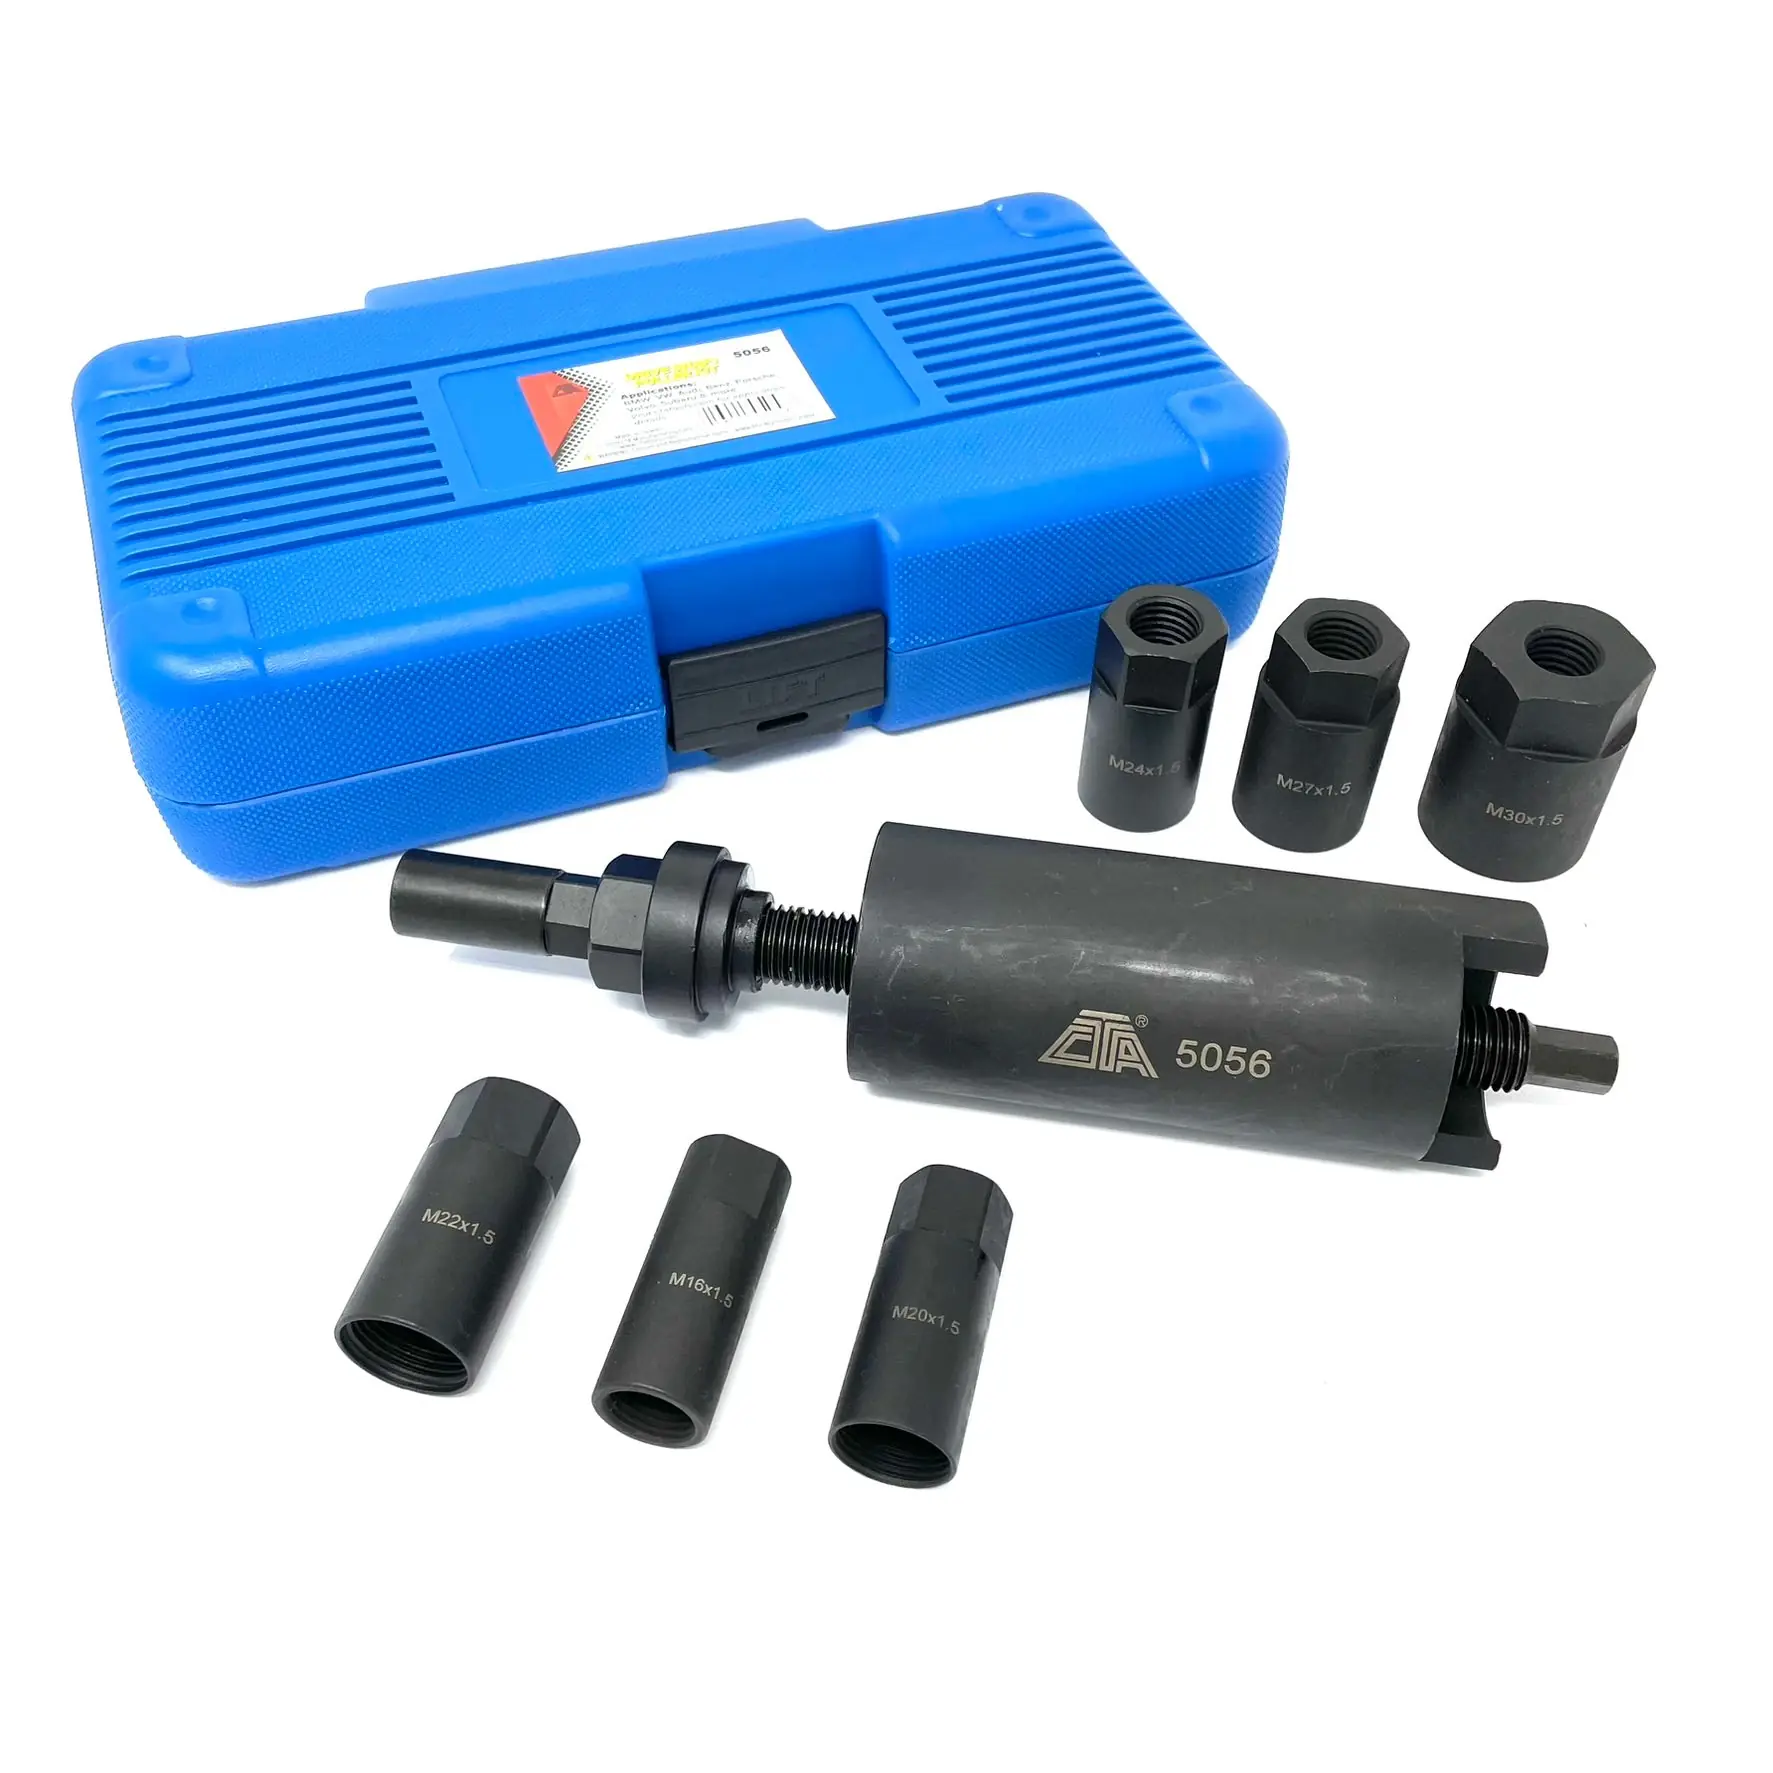
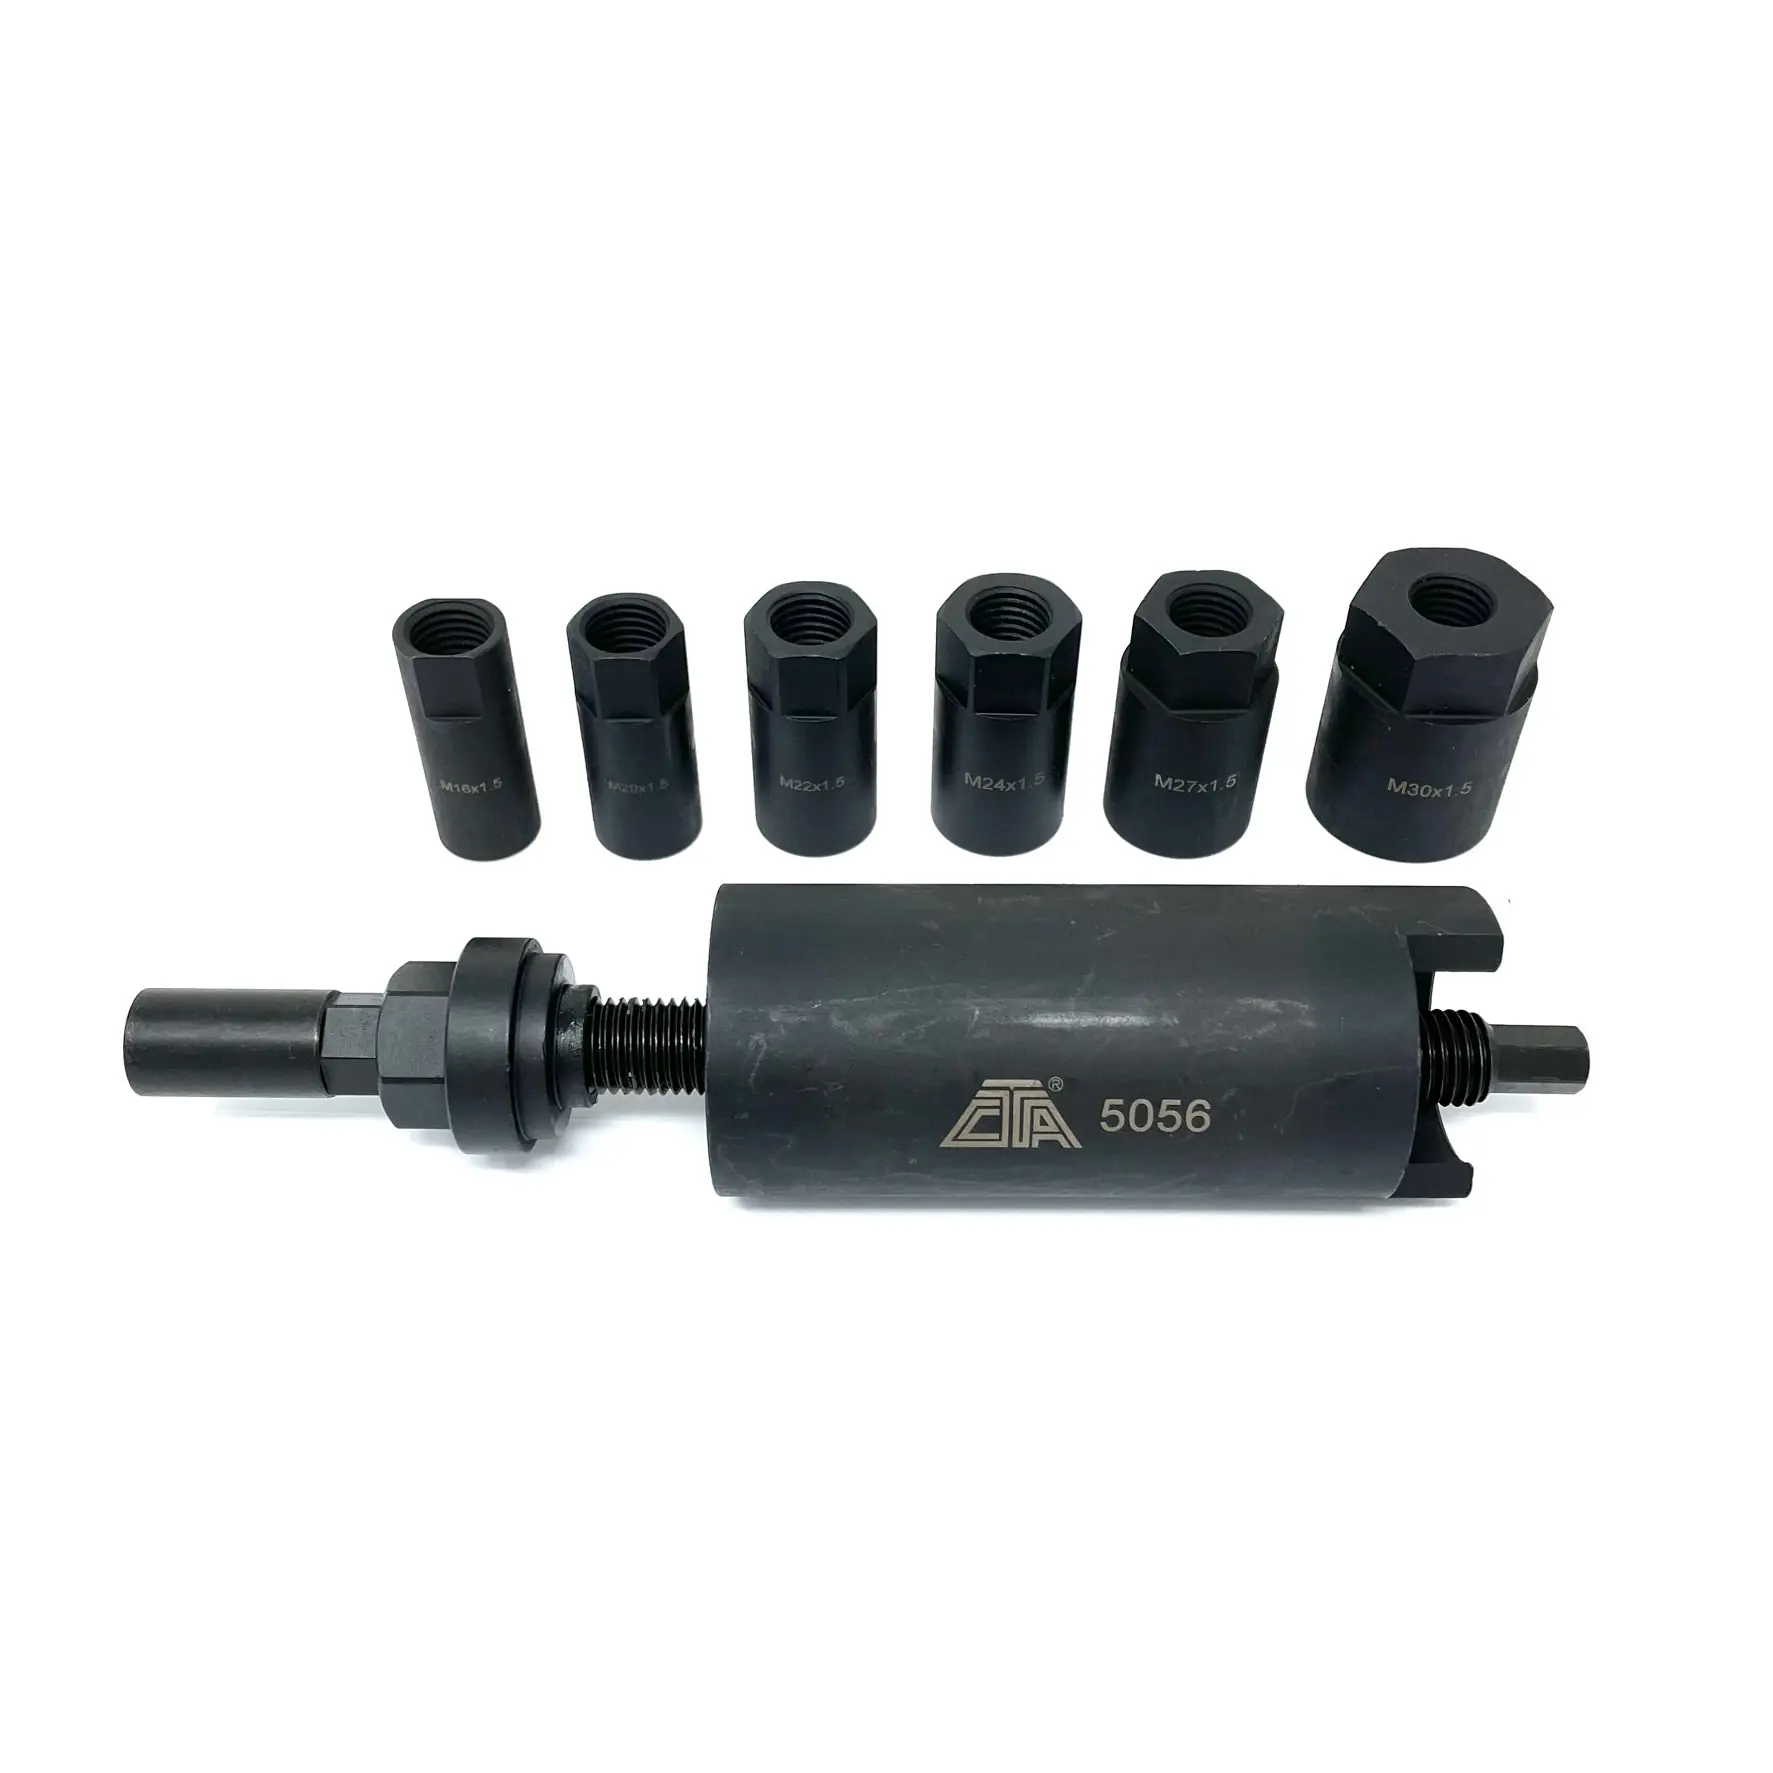
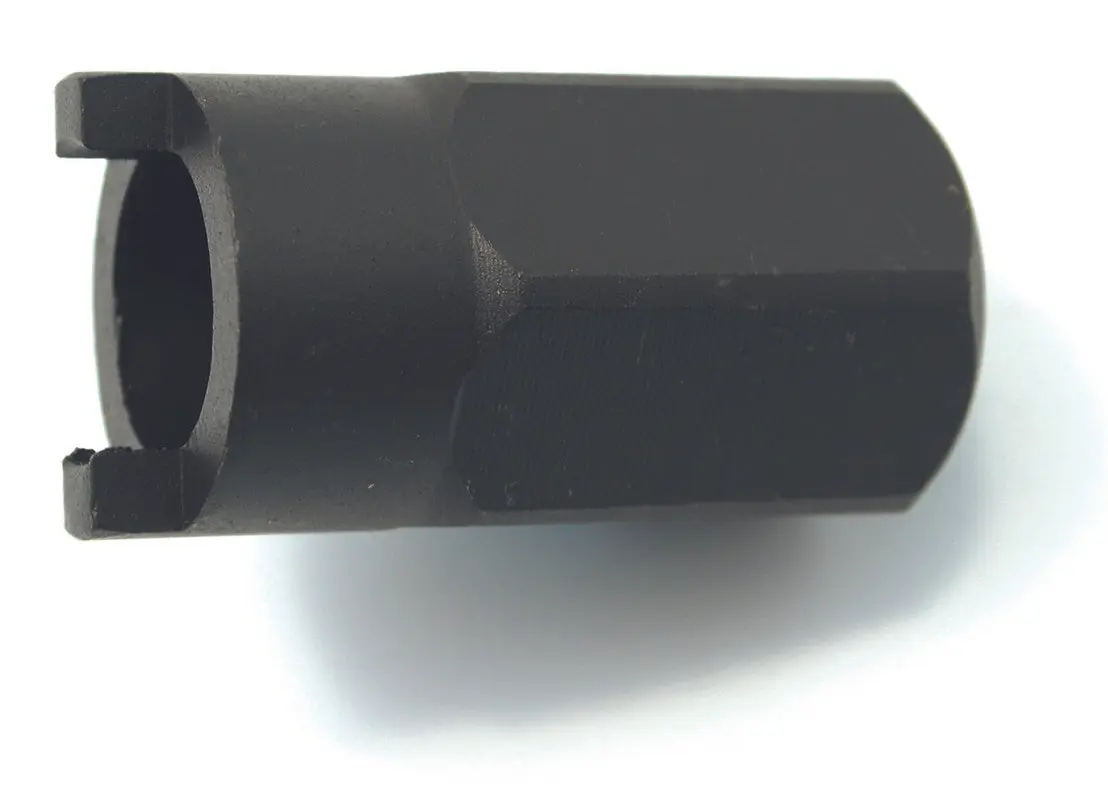
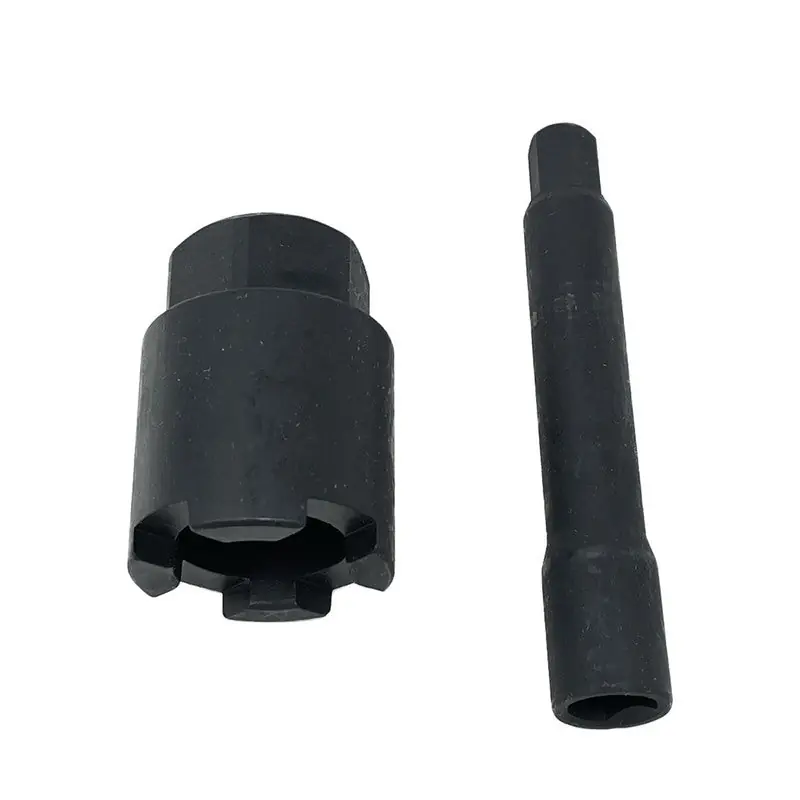
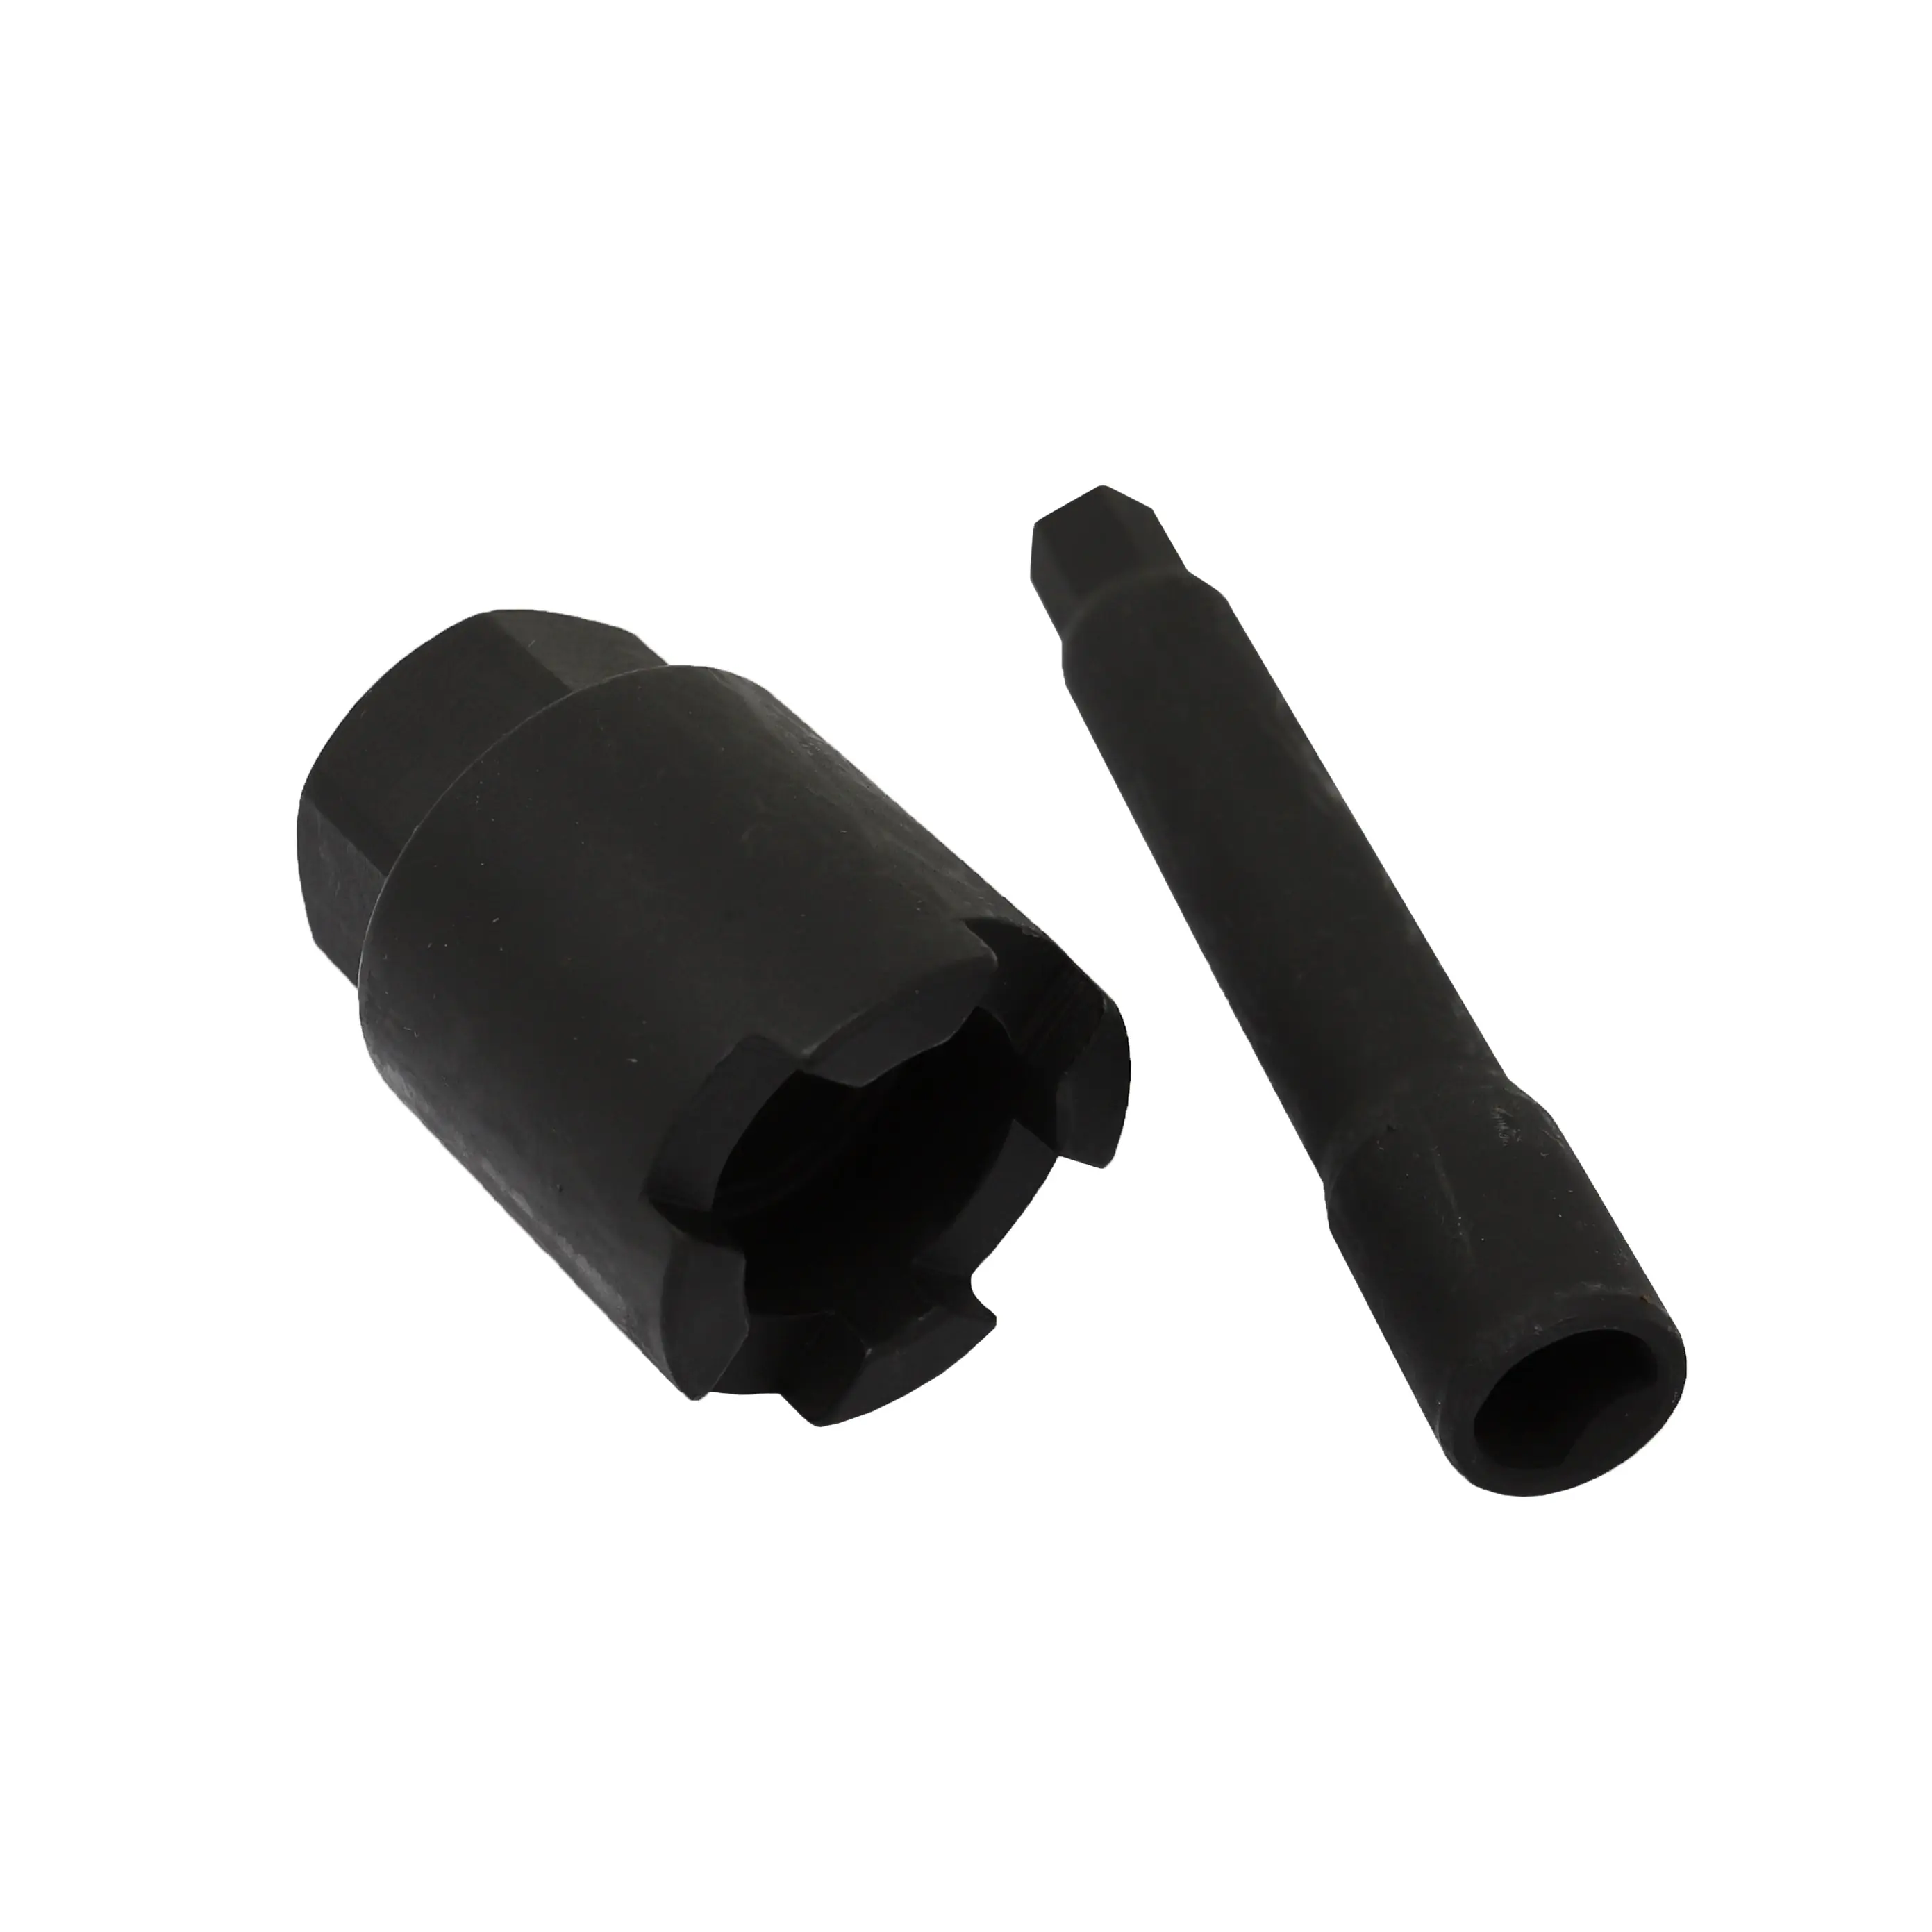
- Removes the putman arm from most vehicles
- Center screw with pointed tip and 3/4″ hex head
- Opening: 1-5/16″ / 33mm
- Depth: 2-1/2 / 64mm
- PItman Arm Puller
INSTRUCTIONS:
- Raise the car and support it safely on stands.
- Remove the cotter pin and nut from pitman arm ball stud, then separate the pitman arm from the relay rod with a screw-type separator.
- Remove the nut and lock washer that attaches the pitman arm to the steering rear shaft.
- Using paint or a center punch, mark the position of the pitman arm on the shaft for proper reassembly.
- Put the puller in place so that the point of the drive screw is in the center of the steering gear shaft and the arms are square on the pitman arm.
- Using a socket or box wrench, turn the drive screw until the pitman arm is removed from the shaft.
CAUTION: There will be a great deal of tension on the puller. If it should pop off, it could do so with dangerous force. Make sure the arms are square on the pitman arm and keep your head as far from the puller as possible. Wear safety glasses.
NOTE: Keep the drive screw threads clean and well lubricated. It pitman arm is frozen on shaft, apply penetrating oil. A hammer and drift may be used to help break the connection free, but be careful not to knock the puller off the arm.
- At installation, be sure to use the lock washer and torque the pitman arm retaining nut to specification.

